Case study
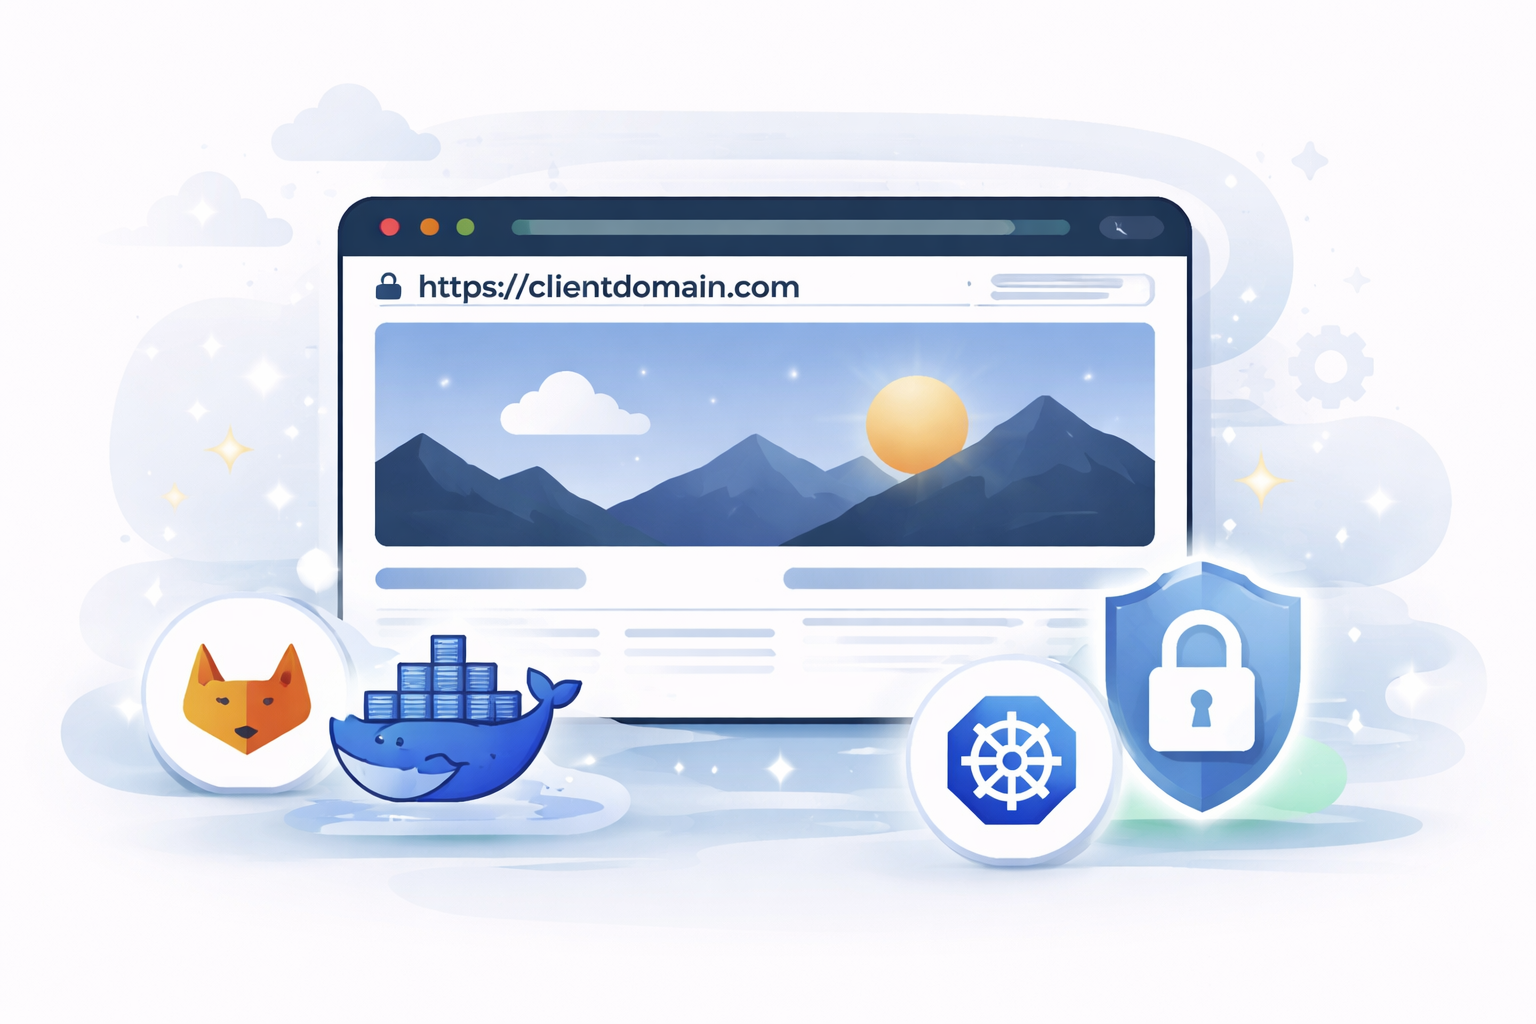
Deploying a Client Node.js Website with GitLab CI/CD and Kubernetes
Use case
A web-design studio delivered a new client application and needed the infrastructure part completed quickly: take an existing GitLab repository with a Node.js application, build it with npm run build, and make it available as a live website on the client domain with a CI/CD path ready for future releases.
Incoming data
- Source code in a GitLab repository
- Node.js application
- Production build command:
npm run build
Deliverable
- A running website on the client domain
- A GitLab pipeline that builds and publishes the application container image on every relevant push
- Kubernetes deployment prepared through a reusable Helm-based approach
- SSL issued automatically during deployment
The full solution was delivered in about two hours.
Step 1. Preparing the application for containerized delivery
The first task was to package the application in a predictable, repeatable way so that the same artifact could be built in CI and deployed into Kubernetes.
The initial working Dockerfile was prepared directly in the same repository:
This already uses a multi-stage build, which is the correct direction for production delivery.
Why multi-stage builds matter

For Node.js projects, a naive single-stage image often contains:
- full source code
- build-time dependencies
- development dependencies
- package manager cache
- temporary build files
That works, but it creates unnecessary weight in production.
With a multi-stage build, the heavy work happens in the builder stage, while the runtime stage receives only the required application output. In this case, only the built .output directory is needed at runtime. That means:
- smaller images
- faster push to registry
- faster pull in Kubernetes
- less space consumed in the container registry
- smaller attack surface in production
Step 2. Tightening the Dockerfile for CI/CD use
After the first working version, the Dockerfile was optimized for more predictable CI builds and better cache behavior.
Final optimized Dockerfile
| |
What was improved
npm ciinstead ofnpm install
This makes CI builds more deterministic because dependencies are installed strictly from the lock file.Separated dependency layer before copying the whole source tree
That improves Docker layer reuse. When developers change application code but not dependencies, the dependency install layer can stay cached.Runtime stage stays minimal
The final container includes only the production runtime and built output, not the full source tree and not the build environment.Cleaner runtime command
A small improvement, but helpful for readability and maintenance.
Practical size impact
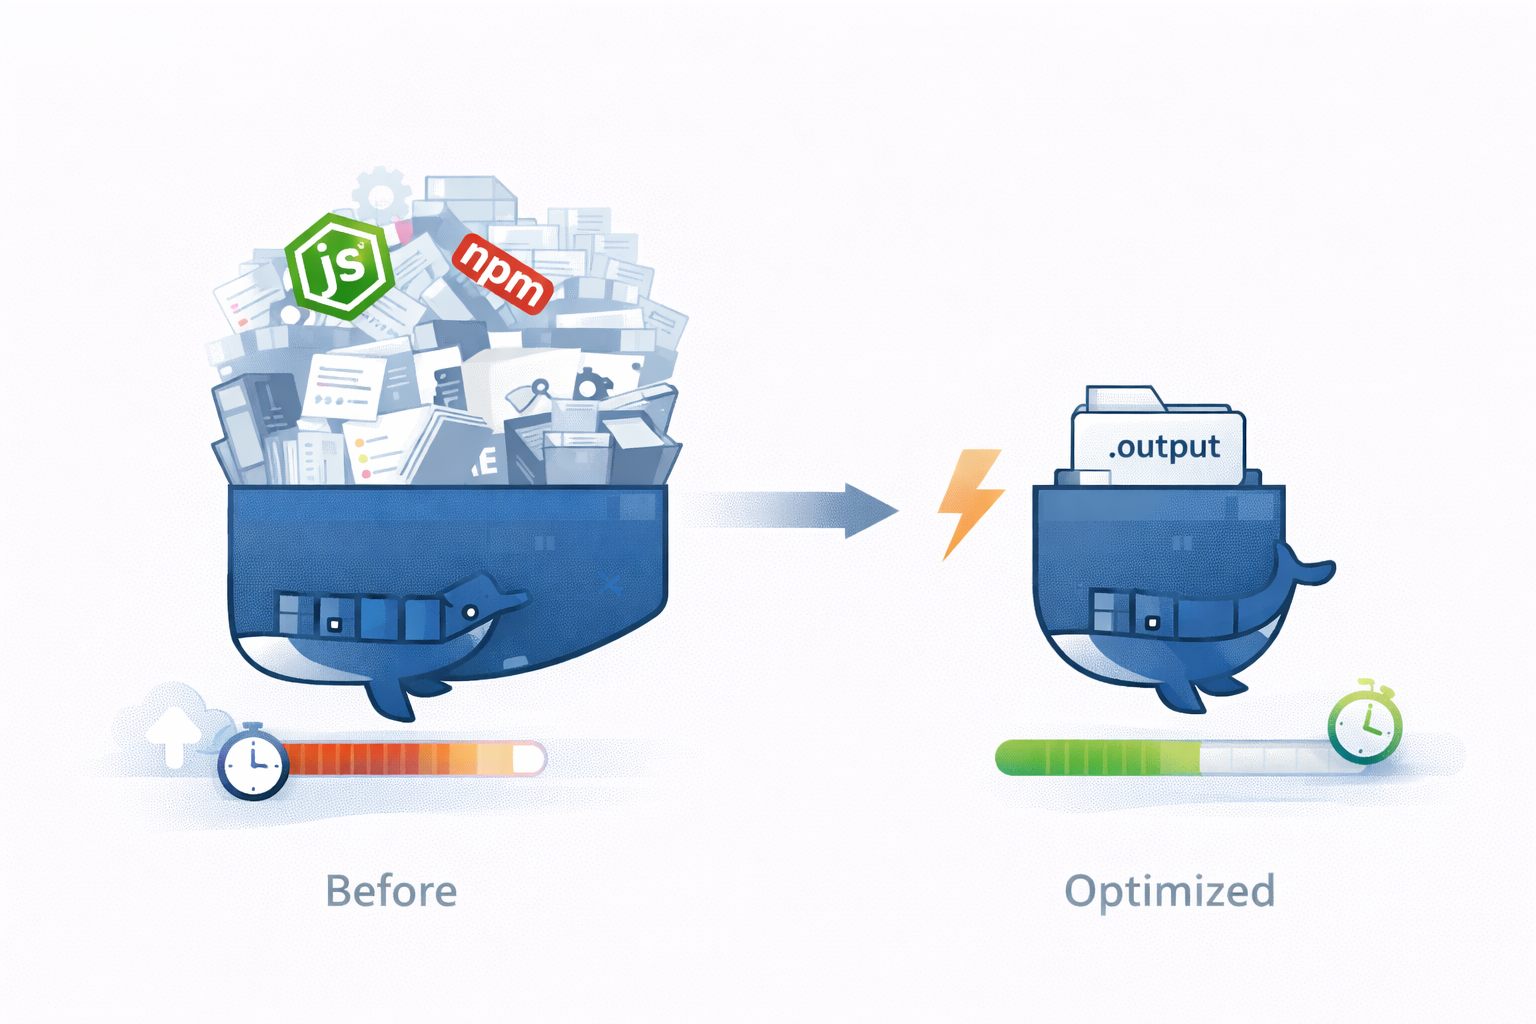
The main gain came not from a small syntax cleanup, but from using the multi-stage runtime image instead of a typical single-stage “everything included” image.
For a project like this, a realistic comparison is:
- naive single-stage image: ~420 MB
- final multi-stage runtime image: ~130 MB
That is a reduction of about 290 MB per image, or roughly 69% smaller.
Why this matters over a week
This team typically pushes new versions a few times per hour. Using a conservative example:
- 3 pushes per hour
- 8 working hours per day
- 5 working days per week
That gives:
- 120 image pushes per week
At 290 MB saved per image, the weekly difference is:
- 120 × 290 MB = 34,800 MB
- approximately 34.8 GB less image data
That is only the registry-side accumulation before cleanup. If the registry garbage collection runs weekly, that difference can remain stored for the whole period. In other words, a seemingly small per-build optimization quickly turns into tens of gigabytes saved per week.
The same reduction also helps deployment speed, because every push to the registry and every pull by Kubernetes nodes moves significantly less data. Even on moderate network throughput, cutting hundreds of MB from each release is immediately noticeable during frequent releases.
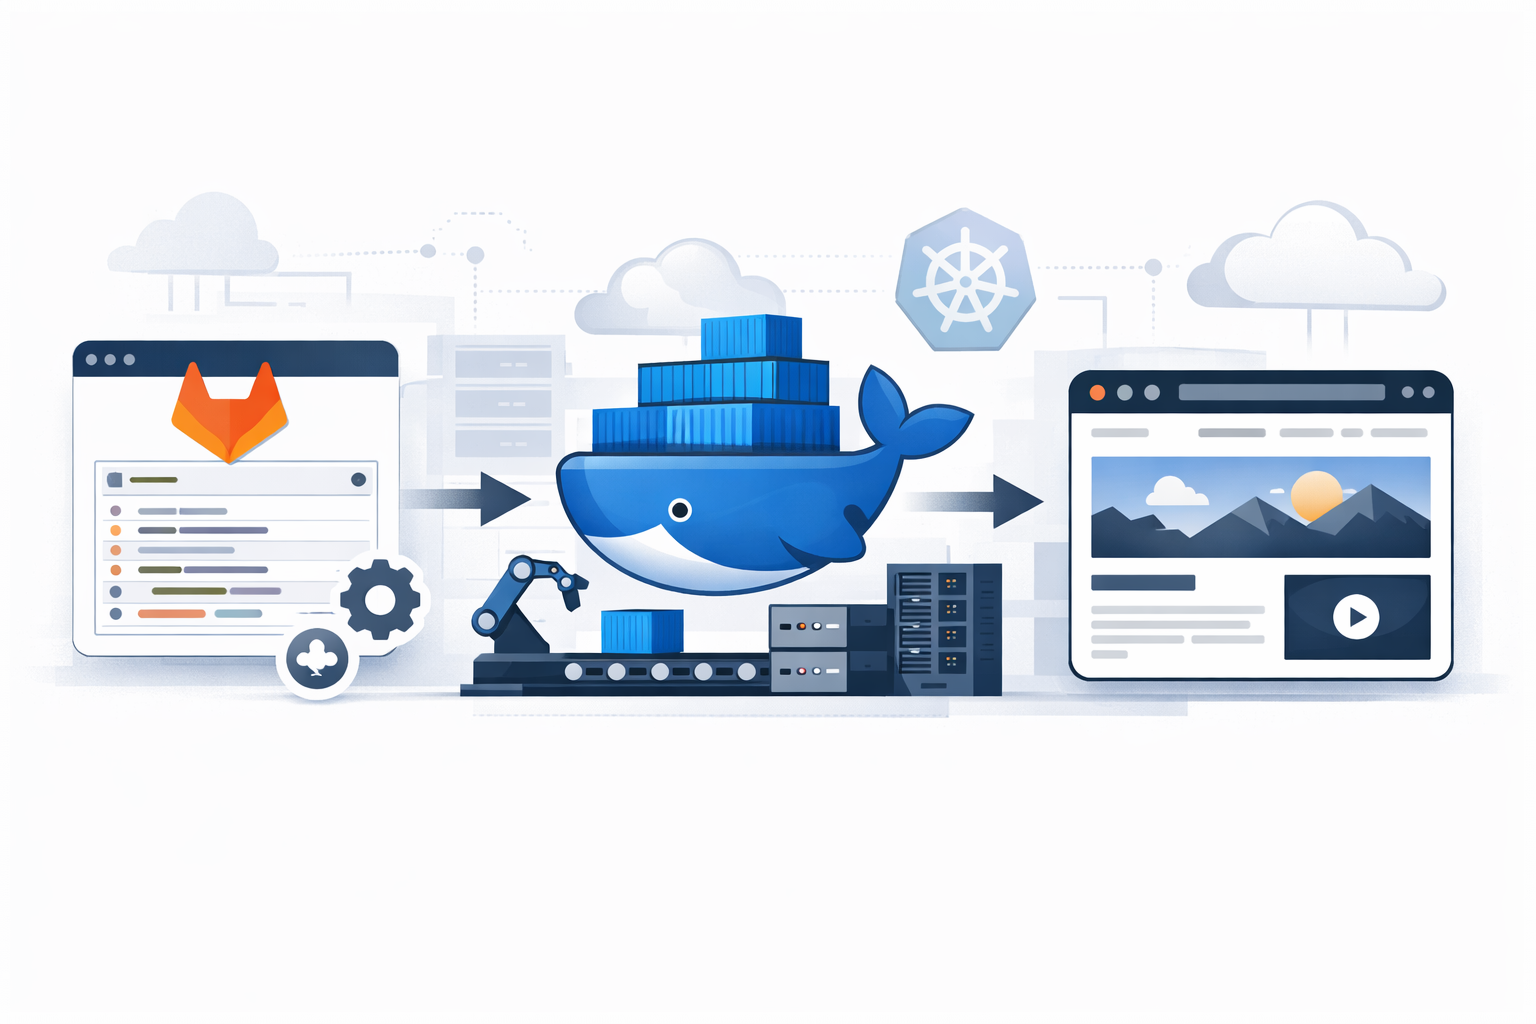
Step 3. Preparing the GitLab pipeline
Once the application was containerized, the next step was to automate build validation and image publishing in GitLab CI/CD.
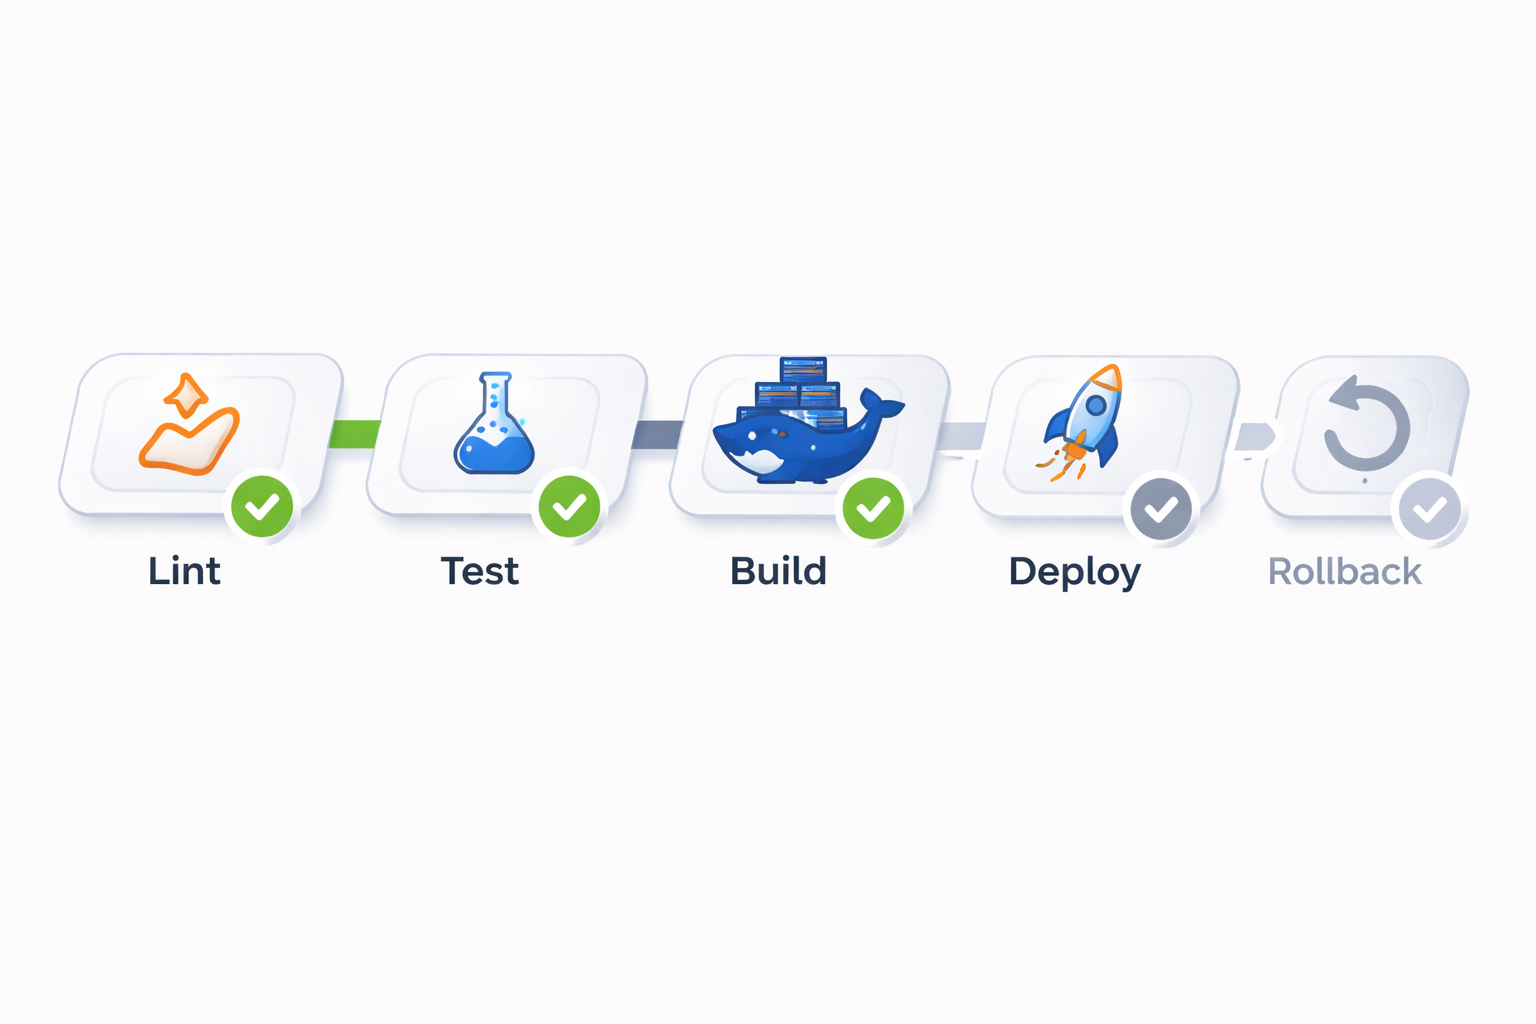
The requested stage layout was:
At this stage of the project, the pipeline was implemented up to the image build and push.
The deploy and rollback stages were intentionally left for the next phase, because deployment itself was handled through Kubernetes + Helmwave.
Sample .gitlab-ci.yml
| |
What this pipeline does
- runs lint checks
- runs tests if present
- builds the Docker image
- tags it with the commit SHA
- pushes it to the GitLab container registry
- also updates the
latesttag on the main delivery path
That gives a clean build artifact ready for Kubernetes deployment.
Step 4. Sample pipeline run output
Below is a representative example of the pipeline output for a successful run through the build-and-push phase:
| |
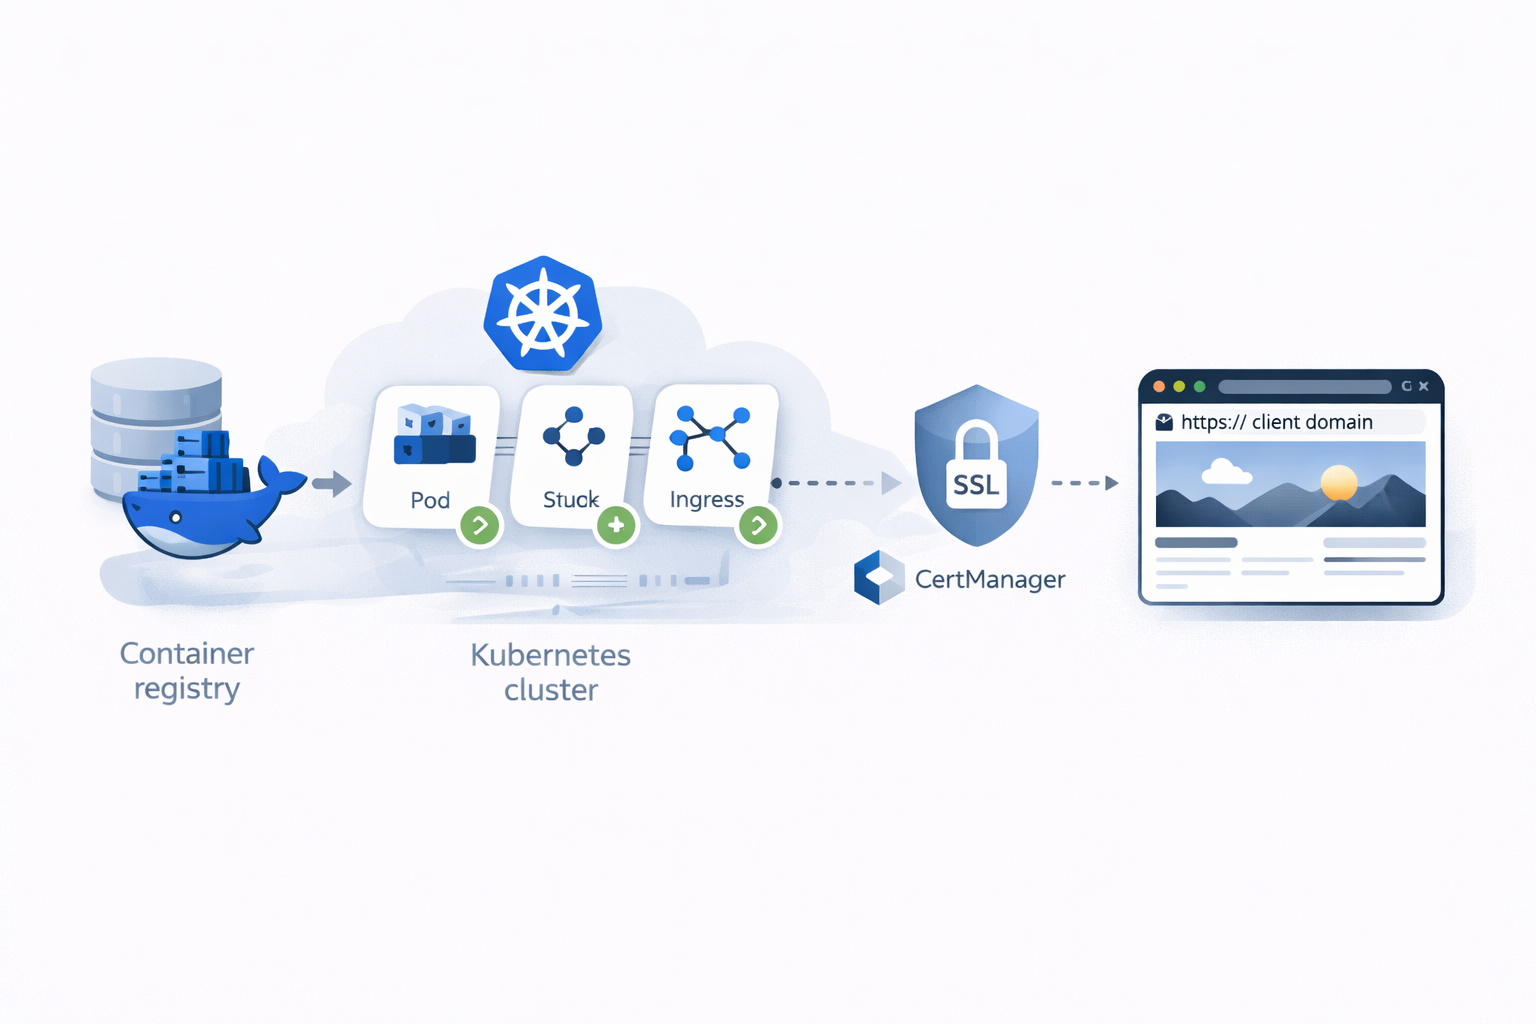
Step 5. Deploying into Kubernetes with a reusable Helm chart
With the image already published to the registry, deployment into Kubernetes was straightforward.
Instead of writing a dedicated chart only for this one project, the deployment used a universal Helm chart that can be reused across many web applications. This is important in real client work because it reduces routine effort and makes future projects faster to launch.
Why this approach works well
For a typical Node.js web application, only a few values usually need to be customized:
- image repository
- image tag
- service port
- ingress hostname
- replica count
- environment variables if required
Everything else is already standardized in the chart.
Example values file
| |
What Kubernetes handled automatically
Because the cluster already had the routine components in place, most of the heavy lifting was not manual:
- Kubernetes pulled the image from the registry
- Ingress exposed the application on the target hostname
- CertManager requested and issued the SSL certificate
- the service routed traffic to the application pod
An important operational detail: DNS for the domain had already been configured before deployment started. That meant there was no waiting on DNS propagation during the implementation window, so the live site came online within minutes after the Kubernetes release was applied.
Result
The studio requested a simple outcome: take a GitLab repository with a Node.js application and make it production-ready with a live domain and CI/CD foundations.
That was delivered through a short and practical sequence:
- prepared a production-ready Dockerfile in the same repository
- optimized the image strategy with a multi-stage build
- set up a GitLab pipeline for lint, test, build, and registry push
- published the application image into the container registry
- deployed it into Kubernetes using a reusable Helm chart and Helmwave
- exposed it via Ingress with automatic SSL from CertManager
Final deliverables
- live website on the target domain
- containerized application build
- automated image build and push on code changes
- reusable Kubernetes deployment configuration
- SSL enabled automatically
- scalable base for future deploy/rollback automation
Delivery time
Total implementation time: about two hours.
That is the real value of a standardized delivery stack: once Docker, GitLab CI/CD, Kubernetes, Helm, Ingress, and CertManager are used in a repeatable way, even a fresh client project can go from repository to live domain very quickly.